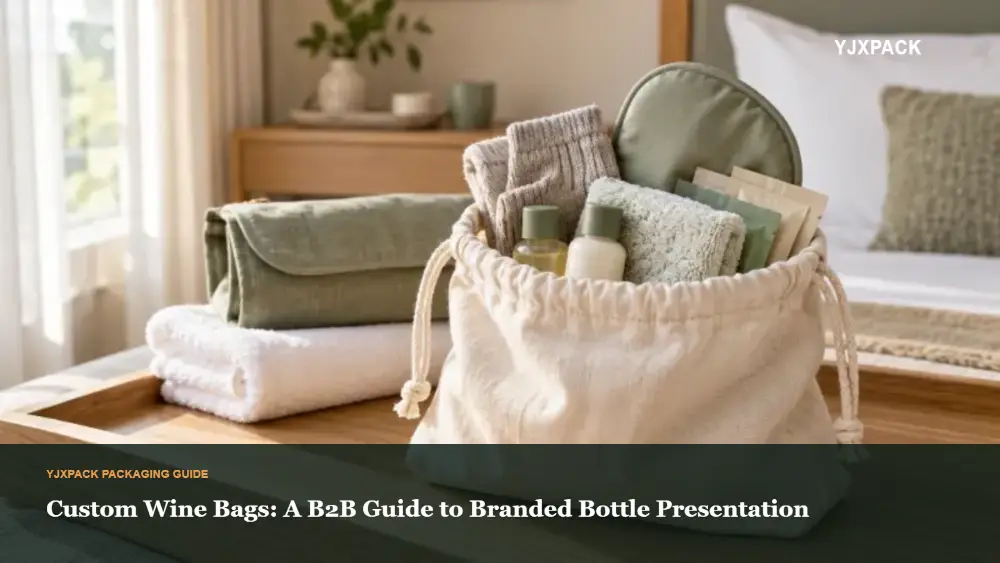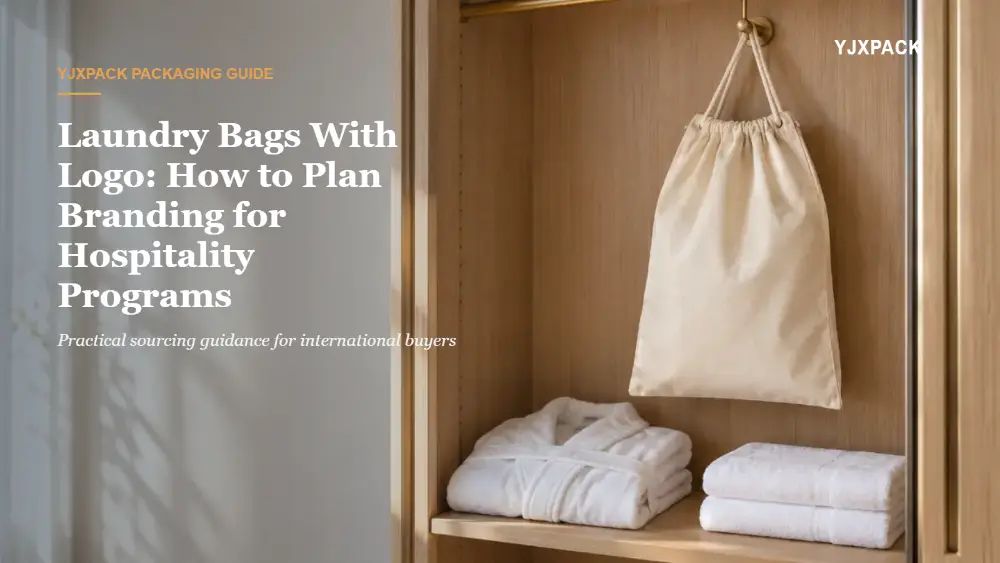
A branded travel kit fails in two directions. Build it too loosely and the contents shift, leak or rattle inside a bag that feels like an afterthought. Over-specify it and the packaging budget eats the margin that justified the kit in the first place.
The decision in front of you is not really “which bag.” It is a four-way balance: how many pieces go in the kit, what storage function each piece has to perform, how much brand presence the kit needs on a hotel bed or a retail shelf, and what the unit cost allows once freight and duties are added. Changing any one of those four moves the other three. Add a bottle to the kit and the pouch grows, the fabric weight may need to increase, the logo area gets renegotiated, and the carton weight changes.
This guide explains the selection logic a buyer can work through before contacting a supplier. Availability of specific fabrics, constructions, closures and branding methods, as well as artwork limits, MOQ, sampling charges, pricing, lead times and documentation, must be confirmed against your final brief during quotation. Treat everything below as a structure for your questions, not as a claim about what any factory stocks or promises.
Quick summary
- Start with the contents, not the bag. Count, measure and weigh the actual items, including caps, pumps, brushes and cables, before choosing a format.
- Match each pouch to one job. A toiletry pouch, a shoe bag, a cable organizer and a garment sleeve solve different problems and should not share a generic specification.
- Specify size by usable internal space. State whether your dimensions are flat or filled, and confirm the measuring convention with the supplier.
- Choose the logo method after the material. Print, foil, embroidery and transfer methods behave differently on coated, woven and pile fabrics.
- Build the commercial sheet around MOQ tiers and packaging. Unit price, artwork setup, bagging, carton dimensions and shipping weight all move the landed cost.
- Approve a physical sample before bulk. Sign off size, colour, closure, logo placement and seam finish on the sample that will be reproduced.
Start with the travel kit use case and contents
Every specification argument later in the project traces back to this step. Before you discuss fabric, get the kit contents on a table and record four things for each item: quantity, longest dimension, filled weight and whether it can leak, spill or scratch.
Common branded travel kit types and what they demand:
- Airline or hospitality amenity kit. Contents are usually small and uniform, so the bag can be a simple drawstring pouch or a zip pouch with a flat profile. The brand impression often matters more than protection.
- Toiletry and grooming kit. Contents are heavier, sometimes wet, and often have caps or pumps that can open in transit. Closure choice and any internal lining matter more here.
- Shoe and gym kit. Bulkier items with hard edges and dirt. Ventilation, abrasion resistance and a wide opening are the practical priorities.
- Electronics and cable kit. Small, high-value items that scratch easily and tangle. Compartmentalisation does most of the work.
- Gift-with-purchase or promotional kit. Volume is high and contents are fixed by a campaign. Cost per unit and repeatability dominate the decision.
- Retail or e-commerce kit. The bag may double as the shipping container or as an insert inside a rigid box. Test how it behaves once packed and dropped.
Two content factors change the answer more than any other.
Filled weight. A pouch carrying a folded shirt behaves differently from one carrying two full bottles. Heavier contents pull on seams, stress the closure and change how the bag hangs. Report the filled weight per pouch, not the fabric weight.
Wet versus dry contents. A kit that holds liquids needs a different conversation about lining, seam sealing and whether the pouch should be wipe-clean. Do not assume a “waterproof” label means the same thing to you and to your supplier; define the requirement in plain terms, such as “resists a spill long enough to remove the bottle.”
Write the use case down in one sentence and keep it in front of you. “A three-piece toiletry kit for a hotel loyalty programme, packed by housekeeping staff, opened by guests in a bathroom” gives you different answers than “a two-piece gift kit for an online skincare launch, packed by a fulfilment partner.”
Choose the bag format, materials and storage features
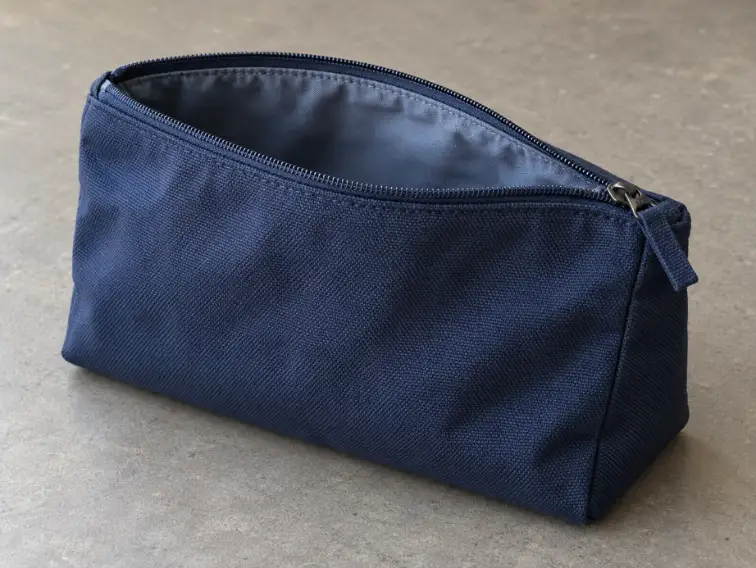
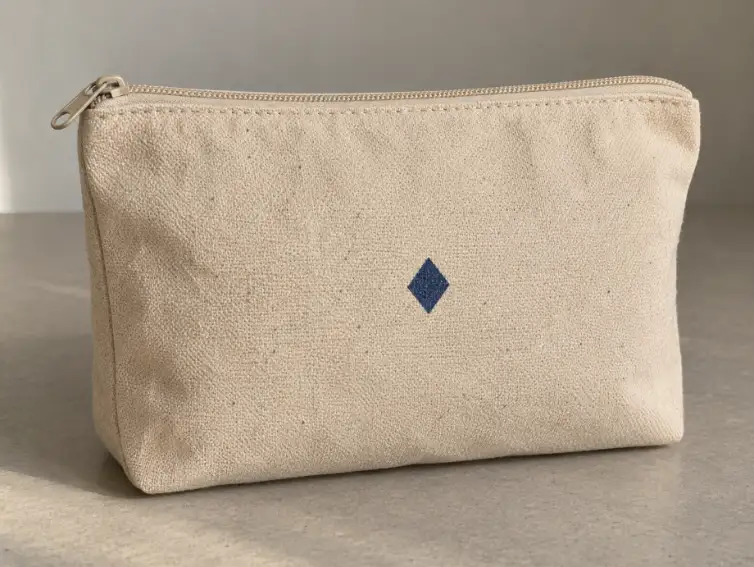
Once contents are fixed, the format decision is mostly mechanical. Ask what the user does with the bag: open it, fill it, carry it, store it, then reopen it.
Bag formats and what each one solves
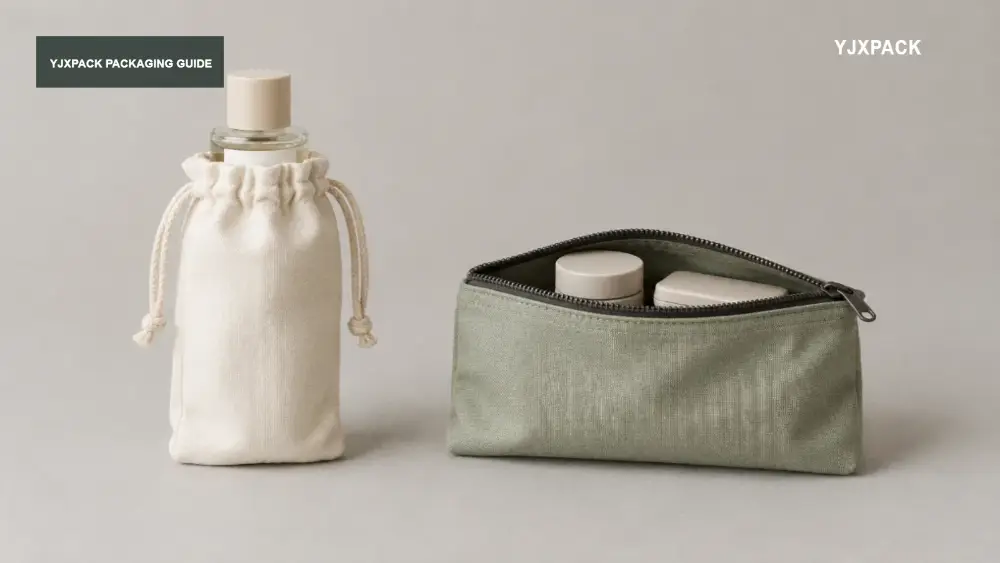
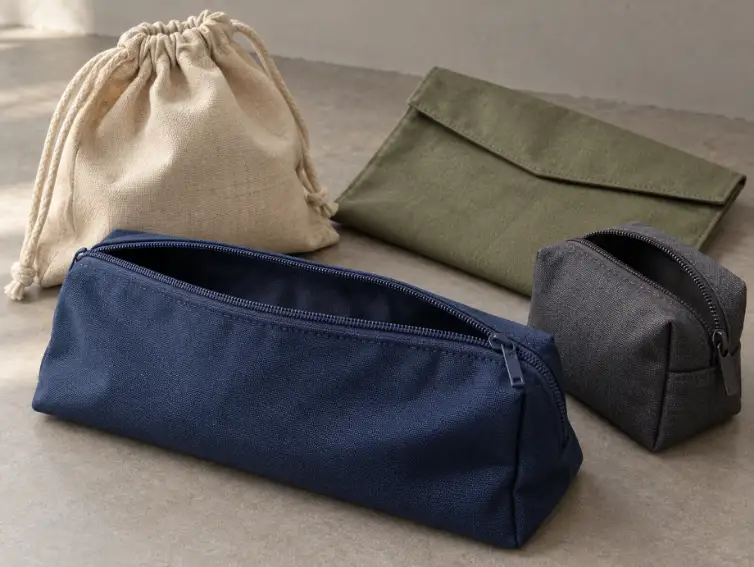
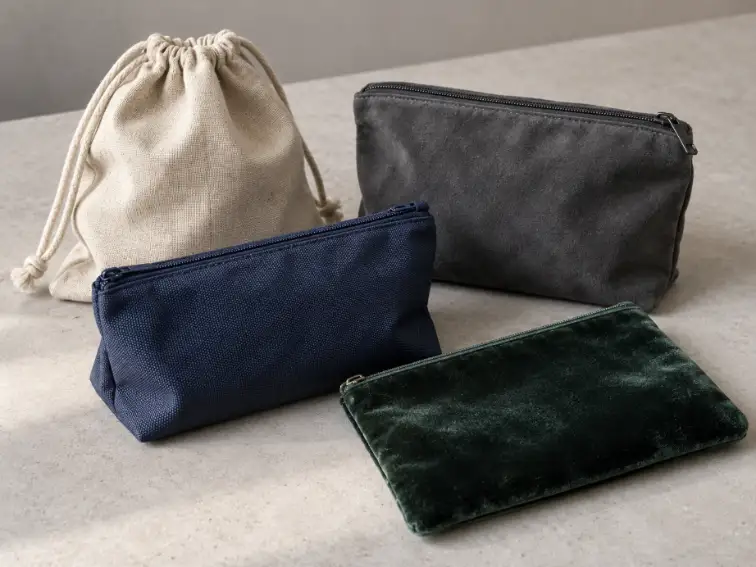
- Drawstring pouch. Fast to pack, flexible in size, and inexpensive relative to structured alternatives. It opens wide when the cords are pulled, which suits soft or irregular contents. Less suited to items that need to stay upright.
- Zip pouch. Holds a shape, protects against dust and minor spills, and keeps flat items organised. The zip is the failure point to discuss, so ask about the slider, tape and how the ends are finished.
- Flap or envelope pouch. Good for a single flat item or a stack of small ones, and it presents well when opened. Repeated opening and closing wear shows on the fold line.
- Tote or carry format. Suits heavier kits where the user genuinely carries the bag away from the room. Handles or straps add construction steps and cost.
- Compartmentalised insert. A pouch with internal divisions, elastic loops or a removable inner tray. This is the format that solves tangle and scratch problems, and it is also the one most sensitive to getting the internal dimensions right.
Materials, described plainly
Fabric choice sets the tone of the kit and the constraints on everything downstream.
- Cotton and canvas. Woven, generally matte, and takes print and embroidery well. Heavier weights feel more substantial and hold structure better. Natural cotton also carries a soft, unbleached look that suits a specific brand position.
- Linen. A woven fabric with visible slub and texture. It reads considered and slightly rustic. Texture can soften fine logo detail, so artwork with thin lines and small type needs a closer look on the sample.
- Non-woven. A bonded fibre sheet rather than a woven cloth, common in promotional work where cost per unit dominates. It holds a rectangular shape well with a stiffer hand.
- Microfiber. A fine synthetic fibre cloth, smooth and often used for cleaning or protective applications. It takes print cleanly at small sizes and can double as a polishing cloth.
- Nylon and polyester. Synthetic wovens, usually lighter, more abrasion-tolerant and easier to wipe down. Sensible for wet or rough use.
- Velvet. A pile fabric with a raised, soft surface. It presents a premium impression and pairs naturally with jewelry-style branding. Pile direction affects how the fabric looks under different light, so check a sample from more than one angle.
- Satin. A smooth, glossy weave with a high sheen. Attractive for small, flat items; consider that a glossy surface shows creases and handling marks.
- RPET and recycled-content fabrics. Made from recycled plastic feedstock. Buyers increasingly ask for them, and documentation claims need to be verified rather than assumed.
If you are comparing natural woven fabrics for the soft pouches inside a kit, a fabric comparison such as Cotton vs Linen vs Muslin: Which Fabric Is Best for Pouches? walks through the hand-feel and use differences.
Storage features worth specifying
These are the details that turn a plain pouch into something a traveller keeps:
- Closure type. Drawstring cord, zipper, hook-and-loop tape, snap, fold-over flap. Each has a different cost and a different failure mode over hundreds of opening cycles.
- Internal pockets and dividers. Define how many, where, and what goes in each. Internal structure that is not dimensioned precisely is wasted construction.
- Elastic loops and straps. Useful for bottles, brushes and cables. Specify loop circumference against the filled item, not the empty one.
- Lining. A separate inner layer for wipe-clean use, contrast colour or moisture resistance. Ask how the lining is attached and whether it creates a visible seam inside.
- Handle, loop or hanging hook. A hook changes how the bag behaves in a small bathroom. If the bag will hang, say so, because the stress point moves to the top seam.
- Ventilation. Mesh panels, eyelets or a deliberately loose closure for damp or odorous contents.
- Cord detail. Cord thickness, colour, aglets and any stopper all affect the finished look and the cost. A short cord is hard to grip; an over-long cord tangles.
A single travel kit can reasonably use two or three different formats. A zip toiletry pouch, a drawstring shoe bag and a small flat accessory pouch cover most real itineraries without adding unnecessary construction steps.
Specify size, capacity and user-friendly construction
Size is where most quoted specifications go wrong, and the mistake is usually about measuring convention rather than the actual numbers.
State your measuring convention
Pouch dimensions mean different things depending on where the tape is placed. A flat measurement taken across an empty pouch will not match the same pouch filled and standing. Before you send dimensions:
- Say whether your figures are flat (empty, laid out) or filled (holding the intended contents).
- Say which dimension is width, height and depth or gusset, in that order, and use the same order throughout the project.
- State whether the measurement includes the closure, the top hem or a base panel.
- Ask the supplier to confirm how they measure and to show that convention on the sample, not just on a drawing.
If measurements are a recurring source of disputes with your suppliers, How to Measure a Drawstring Pouch: Size Guide for Brands covers the conventions in detail.
Derive capacity from contents
A workable sequence:
- Pack the exact contents into a simple plastic bag or a corrugated mock-up.
- Measure the packed bundle at its widest, tallest and deepest points.
- Add allowance for fabric thickness, seam take-up and any internal lining.
- Add a small working allowance so the user can actually get items in and out without forcing the closure.
- Confirm the derived size against the supplier before committing.
The working allowance is a judgement call, not a formula. Too little and the bag fights the user every time; too much and the contents shift, which is worse for anything fragile.
Construction features that make a kit easy to use
- Opening width. A bag that opens widely is easier to pack at a fulfilment centre and easier to use in a hotel room. This is often the single highest-value construction change.
- Gusset or base panel. Gives the pouch a footprint so it can stand on a counter. Adds construction steps.
- Reinforced stress points. Where handles, hooks or cords attach, reinforcement reduces the chance of a tear under load.
- Seam finish. Overlocked, bound or French seams look and behave differently. Inside-out visibility matters for kits the user opens in front of others.
- Bar-tacks. Short dense stitches at stress points. Simple, low-cost, and worth asking about wherever the bag carries weight.
- Colour and fabric weight consistency. If the kit uses two fabrics, ask how lot-to-lot colour variation is managed across a production run and a reorder.
A useful test when you review a sample: pack it with the real contents, close it, carry it a short distance, open it and repack it. Anything awkward in that loop stays awkward for the life of the product.
Compare logo methods and brand presentation options
Logo method interacts with material more than buyers expect. A method that looks sharp on a smooth synthetic can look muddy on a pile fabric, and a method that works at 40 mm can fall apart at 15 mm.
| Method | How it works | Usually suits | Main trade-offs to discuss |
|---|---|---|---|
| Screen print | Ink pushed through a mesh stencil onto the fabric | Cotton, canvas, non-woven, smooth synthetics | Each colour generally needs its own screen; fine detail and gradients are limited |
| Heat transfer | Printed design transferred onto the fabric under heat and pressure | Detailed multi-colour artwork on smooth fabric | Heat sensitivity of the fabric; durability depends on the bond |
| DTF print | Digital transfer printing, no screen required | Complex, colourful or small-run artwork | Hand-feel and wash behaviour should be checked on the sample |
| Foil / hot stamping | Metallic or coloured foil bonded under heat and pressure | Flat, smooth surfaces; premium accents | Works best on simple shapes and solid areas; pile fabrics can blur the edge |
| Embroidery | Stitched thread artwork | Textiles that tolerate needle work; reinforces durability | Very small text and fine detail are hard; thicker fabric adds bulk |
| Woven label or patch | Separate label sewn or applied to the pouch | Consistent branding across mixed materials | Adds a component and a sewing step |
| Debossing or embossing | Heat and pressure raise or recess a design in the surface | Coated and synthetic surfaces | Low contrast on dark colours |
For stitched or printed branding on woven fabrics, Silk Screen vs Heat Transfer vs Embroidery: Which Printing Method Is Best? compares how the three methods behave.
Brand presentation beyond the logo
- Colour. Brand colours rarely translate exactly from a screen to a woven fabric. Ask how colour is agreed and whether the approval is by physical swatch or a reference standard.
- Placement and size. Decide where the logo sits, how large it is and whether it repeats across pieces. A logo scaled for a large tote is usually wrong for a small pouch.
- Consistency across the kit. If the kit contains three pouches, all three should carry branding at a comparable visual weight, even if the methods differ.
- Hardware and trims. Zip pulls, cord ends, hook-and-loop tape and labels all contribute to the impression. Mismatched trims read as cost-cutting.
- Retail versus gift context. A kit sold on a shelf may need a hang tag or a window; a gift kit may need nothing beyond the pouch itself.
Build a commercial specification around cost and MOQ
Cost is where the balancing act becomes visible. Several levers move the unit price at once, and they do not move independently.
Cost drivers to model
- Fabric type and weight. Heavier and more specialised fabrics generally cost more per pouch and add freight weight.
- Construction complexity. Gussets, linings, compartments, handles and hardware each add cutting and sewing steps.
- Number of pieces in the kit. Two pouches cost more in total than one, even when the per-unit price of each is lower at volume.
- Logo method and colours. Screen printing multiplies setup by colour count. Embroidery cost scales with stitch count.
- Artwork setup. One-time charges for screens, plates or digitising, quoted separately from the unit price.
- Individual polybagging and labelling. Packing each pouch separately for fulfilment adds labour and material.
- Carton configuration. How many units per carton drives freight volume and warehouse handling, and often the shipping cost more than the pouch weight does.
- Order quantity and tiers. Unit price normally steps down at volume thresholds.
- Reorder economics. Keeping the same fabric, colour and logo method makes a repeat order cheaper than a fresh specification.
A cost comparison you can actually run
Ask suppliers to quote the same brief at two or three quantity tiers with the artwork setup broken out separately. Then calculate a landed cost per kit that includes the pouch, the artwork setup amortised across the order, packing, carton volume, freight and duty. Comparing unit prices alone hides which option is genuinely cheaper.
Two rules of thumb worth testing against your own quotes:
- A construction step added to save 30 seconds of packing labour rarely pays back unless the volume is large.
- Reducing the number of fabric colours across a kit often saves more than negotiating the unit price.
Where MOQ comes from
Minimum order quantities exist because setup, cutting and printing costs have to be spread across a production run. The practical implication is that MOQ is often negotiable around the things that cause setup, not the quantity itself. If your volume is limited, the levers to discuss are usually standard fabric colours, fewer logo colours, a simpler construction, or accepting a stock size. If you are planning a small first run, [How to Order Custom Pouches in Small Batches (MOQ Explained)](https://yjxpack.com/low-mo
-batch-guide/) explains how small runs are usually structured.
Use sampling and quality control to reduce buying risk
A sample is the cheapest place to find a problem. Every decision you deferred during specification becomes visible in physical form, and a correction at sample stage costs far less than a correction on a production run.
What a sample round should establish
- Size, tested with real contents. Pack the actual items, close the bag, carry it and reopen it.
- Colour, viewed in daylight and under indoor light. Fabric colour shifts with lighting and with the angle you hold it at.
- Logo quality at final scale. Read the smallest text and the thinnest line in your artwork at true size, not on a magnified drawing.
- Closure behaviour. Open and close the pouch repeatedly. Confirm the zip runs smoothly, the drawstring pulls evenly, or the flap sits flat.
- Construction finish. Check seams, bar-tacks, cord ends, lining attachment and whether any raw edge is exposed inside.
- Smell and hand-feel. A new pouch should not carry an unexpected odour, and the fabric should feel consistent with the swatch you approved.
A structured first round is worth running before you commit to a large order, and How to Order Custom Jewelry Pouch Samples: A Step-by-Step Guide for Brands sets out how a sample process is normally sequenced.
Approving the sample properly
Approval is only useful if it is specific. Rather than replying “approved,” record what you are approving:
- The physical sample itself, retained by both sides and identified with a reference your supplier can match.
- Any agreed changes, written down in plain language, with the change list dated.
- The specification sheet that travels with the order: fabric, colour reference, dimensions and measuring convention, closure, logo method, placement and size, packing method and carton configuration.
- The tolerance you accept for size and colour, in terms both sides understand.
Confirm on the approved sample whatever you cannot confirm from a drawing. Availability of a particular fabric, closure or branding method, and any documentation you need, belongs in the written brief so it can be answered at quotation rather than discovered at delivery.
Quality control across a production run
For a multi-piece travel kit, consistency matters as much as any single pouch. Points worth agreeing before production starts:
- Inspection stage. Whether checks happen during production, at final packing, or both.
- Sample size. How many pieces are pulled from the run and against what checklist.
- Acceptance criteria. What counts as a defect, and what counts as a minor variation you will accept.
- Logo inspection. That the logo is checked for placement, colour and legibility on the finished pouch, not only on a test piece.
- Packing inspection. That the right quantity goes into the right carton with the right labelling.
- Photographic evidence. Asking for photos of packed cartons before shipment is a low-cost way to catch problems while they are still fixable.
The same discipline applies on a repeat order. Compare the new request against the previous specification line by line before you send it, because a small unrecorded change — a different cord colour, a shifted logo position — is the usual source of a reorder that arrives looking slightly wrong.
Ask the supplier the right questions before ordering
A short, specific question list gets you a quotable answer faster than a long one. Send your brief with the decisions you have already made, then ask what you still need to know.
About the product
- Which formats, fabrics and constructions fit this use case and content list?
- How do you measure a pouch, and how would you express my dimensions in your convention?
- What closure options suit a pouch that will be opened daily?
- What is the maximum logo size and the smallest legible detail on this material?
About the branding
- Which logo methods work on the fabric I have chosen?
- How is colour agreed, and what do you need from me to match it?
- What artwork file format and resolution do you require?
About the commercial terms
- What are your quantity tiers, and what is the unit price at each?
- What artwork or setup charges apply, and are they one-time?
- What is the MOQ, and what would have to change to reduce it?
- What is the lead time from artwork approval, and how is it affected by quantity?
About sampling and quality
- What does a sample cost, how long does it take, and is it credited against the order?
- What is your sampling process if the first sample is not right?
- What inspection steps do you take, and what evidence can you share before shipment?
About packing and shipping
- How are pouches packed individually, and how many go into a carton?
- What are the carton dimensions and gross weight?
- Which shipping terms do you quote, and what documentation do you provide?
About compliance and documentation
- What audit, material or testing documentation can you provide for this specification?
- How do you handle a claim if goods arrive outside the approved specification?
If the supplier cannot answer a question, ask how they will find out, rather than moving on. Vague answers at quotation stage tend to become disputes at delivery stage.
FAQ
How many pieces should a branded travel kit contain?
There is no standard number. Work backwards from what the traveller actually needs and what the packing process can handle. Kits commonly run from one to four pieces, and each extra piece adds a pouch specification, a packing step and a cost line. Decide the content list first, then size the packaging around it.
Should the whole kit use one fabric or a mix?
One fabric is easier to source, cheaper to produce and simpler to keep consistent on a reorder. A mix can make sense when pieces have genuinely different jobs, for example a wipe-clean toiletry pouch next to a woven garment sleeve. If you mix, specify the colour relationship between fabrics deliberately rather than letting it happen.
What is the largest logo I can print on a travel pouch?
It depends on the pouch face, the fabric and the method. Pile fabrics such as velvet blur fine edges, and very small text is difficult with embroidery or foil. Ask for the practical limit on your chosen material, then judge it on the sample at final size rather than on a screen.
How do I lower the cost without making the kit feel cheap?
Usually by simplifying what the user does not notice. Fewer fabric colours, a single logo method across the kit, simpler internal construction, standard trims and a tighter carton configuration all reduce cost with limited effect on the unboxing impression. Reducing the fabric weight is the lever that shows most clearly, so treat it carefully.
What should I prepare before requesting a quote?
The content list with dimensions and filled weights, the use case in one sentence, the number of pieces, your preferred format and material direction, the logo method and artwork, your target quantity with a tier to compare against, your target market and shipping destination, and any documentation you need. With those in hand, suppliers can quote the same brief consistently, which makes the comparison meaningful.
Get a Quote
If you have the content list, the quantity and the branding direction ready, YJXPACK can work through the specification with you and confirm what applies to your brief. Send the details and ask for a quote with the quantity tiers, setup charges and sampling process included, so you can compare options on a landed cost per kit rather than a unit price alone.
Share This Story, Choose Your Platform!